You know that if your check engine light comes on, it means your car is having trouble. You may also have heard your mechanic talk about how your car’s computer is registering a certain code indicating a potential problem.
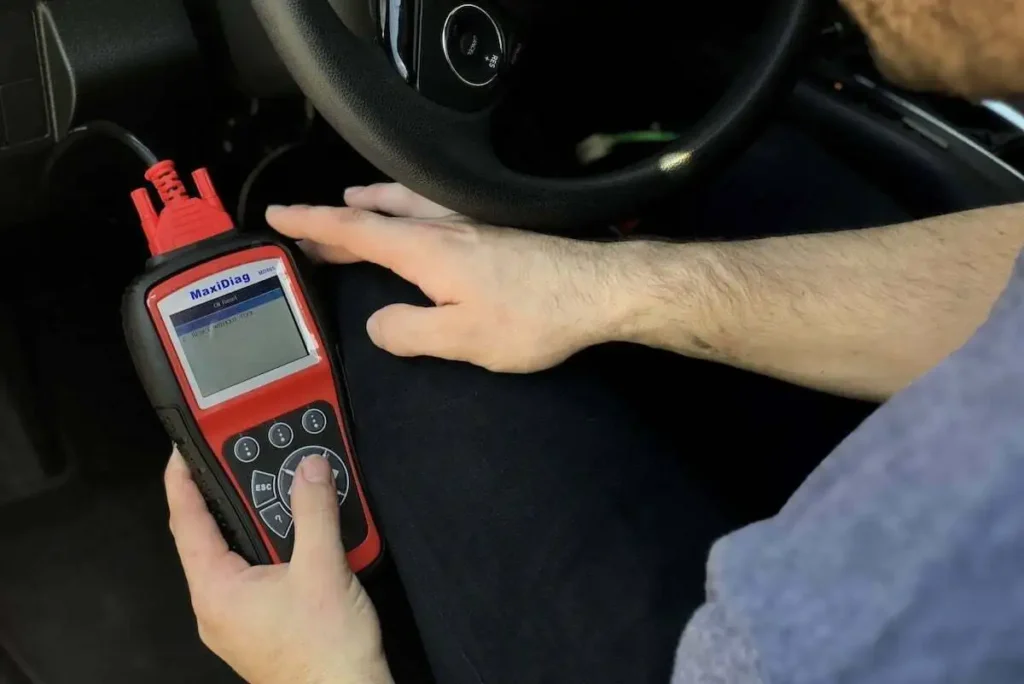
These codes are part of your car’s on-board diagnostics (OBD) system, and there are hundreds of them, each providing a specific clue about what’s causing your vehicle’s issue. But you don’t have to rely on a mechanic to find them — you can buy and use your own OBD code reader. Once you retrieve the code or codes, you can find out what they indicate using our OBD-II code chart.
Knowing what code is being triggered can provide you some peace of mind and, if you’re lucky, maybe even a quick fix — it could just be that your gas cap is missing or loose. But the vast majority of the time, you’ll still want a mechanic to take a look at your car if your check engine light is on. Still, you can head into the shop with confidence, knowing what system is causing the problem.
Let’s look at how the OBD system works, or you can jump ahead to learn how to plug in and use your scanner, and how to tell what the codes mean.
How the on-board diagnostics system works
OBD diagnostic trouble codes (DTCs) were introduced as a way to help keep emissions in check. The concept uses an on-board computer to oversee the powertrain-related electronics. Information about system performance is stored in the memory of the engine control unit (ECU).
In the 1980s, DTCs were not standard between carmakers. Known then as Assembly Line Diagnostic Link (ALDL) systems, these early variations were dramatically different between manufacturers.
California initially required all vehicles sold there to have an interface to the car’s computer by 1991. The modern OBD-II standards were then designated by California in 1994 and became mandatory in the state in 1996. That’s when the systems implemented from 1991 to 1995 were retroactively named OBD-I.
OBD-II made things much simpler. With a standardized connector on all cars, the price of code scanners dropped enough that every mechanic could own one. Shop owners no longer needed the $2,000-plus scanner that required expensive quarterly updates.
The car’s computer stores OBD-II data that can be accessed with a diagnostic tool. A scan tool is a more advanced diagnostic tool that retrieves most, if not all, of the OBD-II functions supported by the ECU. A code reader, on the other hand, can only retrieve and clear some DTCs. Top-of-the-line scanners can provide live, real-time data — the average driver might not need this amount of detail, but it can be very helpful to mechanics.
Modes of operation
There are 10 modes of operation, though vehicle manufacturers are not required to support all of them. As a DIYer, you’ll most likely be interested in modes 1 through 4: data, freeze frame, reading codes and clearing codes. These are often listed as “Mode $01” and so on.
- Mode 1 — Show data parameter IDs: Parameter IDs (PIDs) are live sensor data, shown to you in real time.
- Mode 2 — Show freeze frame data: This is a snapshot of the vehicle PIDs at the time a trouble code was logged. This information is recorded over several seconds, so some data might not be specific to the exact moment the code was set, but it will be close.
- Mode 3 — Show stored DTCs: This mode will display any codes stored in the computer. The codes will typically start with the letter P, followed by four numbers.
- Mode 4 — Clear DTCs: This mode allows logged trouble codes to be erased.
The rest of the modes allow more advanced operation and other information, including codes that are pending but not yet logged and vehicle identification details. When using a diagnostic tool, the modes are often displayed in a more user-friendly format. For example, instead of listing “Mode $03,” the tool will usually say something like “Display diagnostic trouble codes” or “Read codes.”
Accessing your car’s data
There are several scan tools and code readers to choose from. Decide how much information and control you want or need, read some reviews and pick the one that makes the most sense for you. Bonus tip: A good manual will be very helpful for beginners.
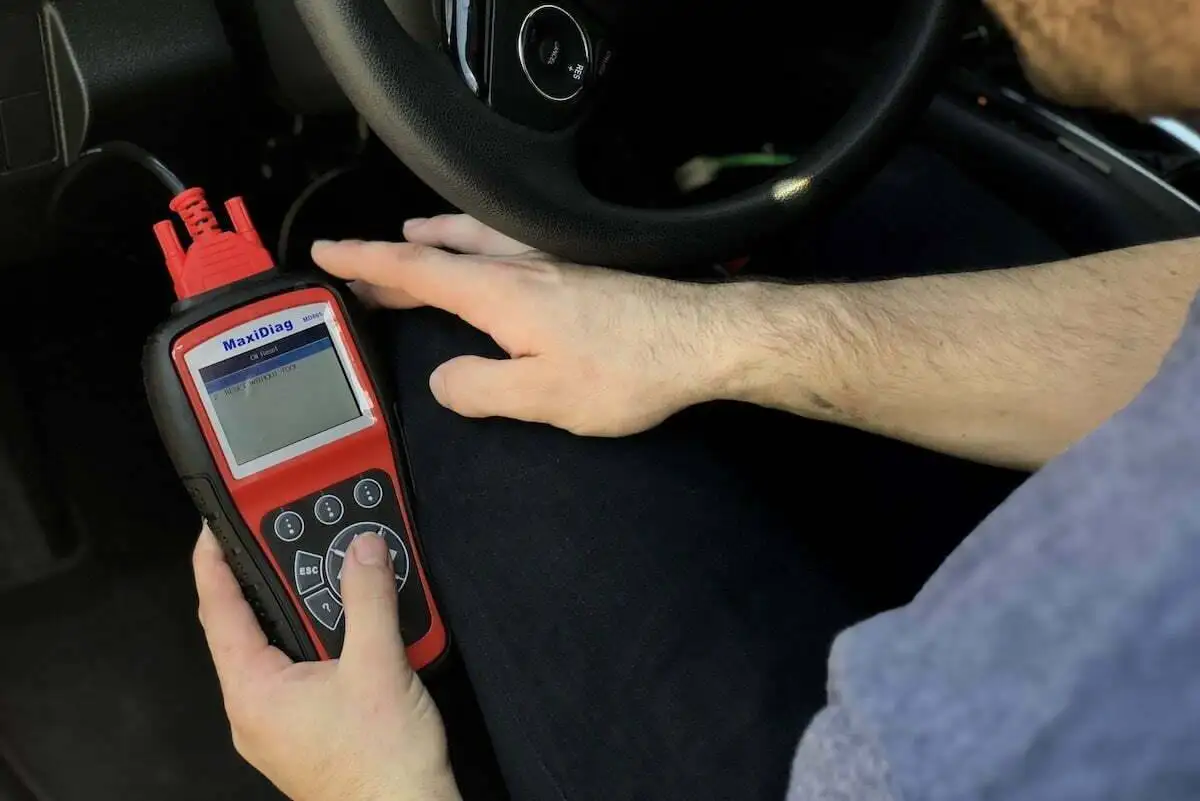
You can retrieve your car’s data by connecting the scan tool or code reader to the vehicle’s diagnostic port. This is a 16-pin connector that’s almost always located under the driver’s side of the dash. Once you’ve found the port, vehicle data and functions can be accessed by doing the following:
- Connect the diagnostic tool to the port
- Turn the vehicle ignition on
- Power up the tool (it may turn on by itself when it’s plugged in)
- Follow the operating instructions for the scan tool to access data
To find DTCs, you’ll want to navigate to the “Read codes” (or similar) option and choose it. Here you will see the code or codes logged in your car’s computer memory. Unless you’re using a professional-grade or manufacturer-level tool, the only codes you’ll be able to see will start with the letter P. After that will come four numbers — for example, P0128. On occasion, a letter will take the place one of the numbers.
If there are multiple codes, you may have to scroll through them or press a button to see the next code. Write down the codes in the order they appear on the screen.
Don’t erase any codes until your issue is resolved. If you need a mechanic’s help, they’ll want access to this information, as well. Often, seemingly unrelated codes can offer vital information to experienced technicians. Having the codes written down can save you the cost of additional diagnostic time.
Interpreting what OBD-II codes mean
OK, you’ve got your list of codes. Now what?
Your first step is to check them against our OBD-II trouble code chart. Here you can find common trouble codes or search for the ones you’ve found. Start with the first code on your list.
Click on each code to find out learn what the code means, common symptoms associated with it, common problems that cause it, and much more. A handful of these will lead to a quick fix, but the vast majority will need to be addressed by a professional mechanic. Still, it’s good to know what your car is telling you before heading to the shop.
First letter
As mentioned earlier, most codes start with a P — these are related to the car’s powertrain. However, if you’re using a professional-grade scanner, you may see codes that start with B (body), C (chassis) or U (computer or communications problems).
First number
After that will typically come four numbers. The first number will tell you whether the issue is generic — whether it’s something found in pretty much all cars — or whether it’s manufacturer-specific. If a carmaker decides the generic list doesn’t cover an issue that can occur with its vehicles, it will add these specific codes to the OBD-II system.
Remember that the laws regarding the OBD-II system pertain only to systems that directly affect emissions. The quality (and likely the price) of your scanner, and the manufacturer’s willingness to share information that’s not emissions-related, will affect what you can see through the scan tool.
Here’s the breakdown:
Generic codes: P0XXX, P2XXX, P34XXX-P39XXX, B0XXX, B3XXX, C0XXX, C3XXX, U0XXX, U3XXX
Manufacturer-specific codes: P1XXX, P30XX-P33XX, B1XXX, B2XXX, C1XXX, C2XXX, U1XXX, U2XXX
Second number
The second number tells you what system the code refers to. Here’s how it works with P codes, the most common ones you’ll find:
0 and 1: Problem with the air or fuel metering system. For instance, you might have a bad oxygen sensor. (Some 0 codes are related to auxiliary emissions control issues instead.)
2: Problem with the air or fuel metering injection system. This could be an issue with your fuel injectors.
3: Problem with your ignition-related components. You may have noticed your engine misfiring recently.
4: Problem with your emissions system. For example, your exhaust gas recirculation (EGR) valve might be failing.
5: Typically, a problem with the vehicle speed controls or idle control system. But issues such as air conditioning refrigerant pressure can trigger one of these codes, as well.
6: Problem with the computer output circuit. This could mean an internal computer failure.
7, 8 or 9: These numbers indicate transmission-related problems. You could have sensor failures or low transmission fluid pressure.
Letters: P0A, P0B and P0C codes are reserved for hybrid vehicle issues.
Last two numbers
The final two numbers indicate which specific issue the car is noticing. But again, this is typically only a clue as to what’s wrong. A code indicating a misfiring engine could be caused by any number of different problems. For instance, if the computer notices a glitch in the synchronization between the camshaft and crankshaft position sensors, it could be caused by metallic dust contaminating the crankshaft sensor, a spark plug wire going bad or something else altogether. So, you’ll want to have a professional take a closer look at your vehicle.

